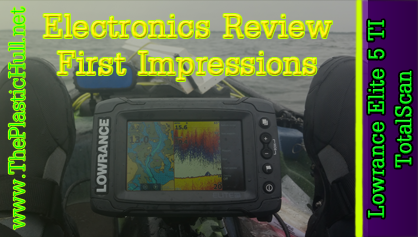
Review: Lowrance Elite 5 TI TotalScan Fishfinder/Chartplotter
 Upon receiving the new unit on a Tuesday and installing it on my kayak by Thursday I was able to use the unit on the water at the Jamaica Bay Kayak Fishing Tournament. Since my kayak had a Elite 5 Chirp Installed I was able to use the existing hull pass-thru and the power cable. The transducer had to be swapped out replacing the HDI Skimmer (DownScan) with the TotalScan. See the install Article for more information on how I scupper installed the new TotalScan Transducer.
Once the cabling was installed I then inserted the Navionics+ Charts SD Card into the unit. On the initial power on it asked me to accept a disclaimer which every unit asks on power on. Then immediately went into quick setup mode. The touchscreen is where it is at. What once took over 15 different key pad presses now takes one touch of a finger!. Very convenient along with additional settings. The menus are simple to navigate along with the ability to touch zoom touch courser areas to zoom in on and set way points and even on the sonar touch and swipe back to review history. Changing settings such as sensitivity on the fly is simple. Touching the sensitivity and a slider appears which you can slide up and down via touch for more or less sensitivity. This applies for all settings.
An excellent new feature is the ability to customize just about every screen. You can create your own pages with views you would like to see along with sizing them within the page. You even have the ability to customize the background wallpaper with your own image! Change colors of tracks the DSI and Side Scan screens. By simply swiping the menu it will hide for max screen resolution. Simply edit the settings of any panel by touching the panel and selecting the options and settings within the menu.
 Another really cool feature is 3D Charts. Like a vehicle GPS you can now view them in 3D to see what is in front of you simpler. The ability to pan and change the view angle is all controlled by touch.
 A big improvement I have noticed is the refresh rate and sensitivity of the GPS along with better Navionics Charts. While turning it flows like a floating compass and is not laggy like older units. Adding way points has never been easier. Simply touch on the screen where you would like to add a way point or for current location press the chart then add new way point. Even faster press the flag symbol key on the keypad. Even easier is naming your way points. The onscreen touch keyboard makes this fast and easy.
The Lowrance Elite5 TI also has WIFI and Bluetooth ability. The wireless connectivity gives you the ability to use a wireless device to remotely view (smartphone and tablet) and control the system (tablet only). Access the GoFree Shop. Upload your Sonar logs to create custom maps at Insight Genesis. (If you have purchased the Lowrance Insight chart add on) Download software updates Connect to third party applications.
 One flaw so far is in heavy rain the touchscreen will malfunction. Bring a clean dry cotton towel with you to dry off the screen. If you are in a downpour. Quickly navigate by pressing the power key and then touching the lock screen icon. This will temporarily turn off the touch option. Once you are able to dry off the screen press the power button to unlock the screen. See the image on the left for touch lock location.
 The TotalScan is completely amazing. It includes CHIRP 2D Broadband, Down Scan Imaging (DSI), and side scan imaging. The DSI and side view imaging is completely photo like due to the CHIRP technology. Giving the ability to identify fish holding structure is a huge advantage for any angler. With three different transducers built into one it is an advantage for the kayak also. Although a drawback of the TotalScan transducer is its size. The install situation on a kayak it is incredibly tough to mount. Being side scan it must be in the water with no interference with the hull. The overall dimensions on the transducer is 10.11″ long by 2.65″ wide. I had to modify the boat transom bracket to work with the Jackson kayak scupper and Lowrance Scupper mount. See the install article for more information on installing the transducer on Jackson Kayak Raymarine Ready Kayaks. For all other kayaks that do not have a large scupper trough you may opt to use a Ram Mounts Transducer Arm Mount and for use on multiple kayaks use the YakAttack Cell Block.
The unit will not work with the HDI skimmer unless you purchase an adapter cable (additional $30.00)
 Pros:
Pros:
- Touchscreen Ability
- TotalScan Three Different Transducer in one
- Full Customization
- WIFI
- 3 available Chart Addons
- Perfect Size for Kayak Application
- Mounts using Ram Mounts RAM-101-LO11
Cons:
- Touch Screen is tough to navigate when really wet
- Transducer is HUGE
- Will not work out of box with HDI skimmer (needs adapter cable)
Check out the Lowrance Catalog and website for more information!
www.lowrance,com
http://www.lowrance.com/Global/Lowrance/Documents/Catalogs/2016%20Lowrance%20Catalog_985-11130-001_w.pdf
Like this:
Like Loading...


 I had to flip the mounting bracket upside down then mount the transducer to bracket. This allowed an extra 1/4″ of space so the transducer mounted closer to the hull and more flush inside the scupper trough.
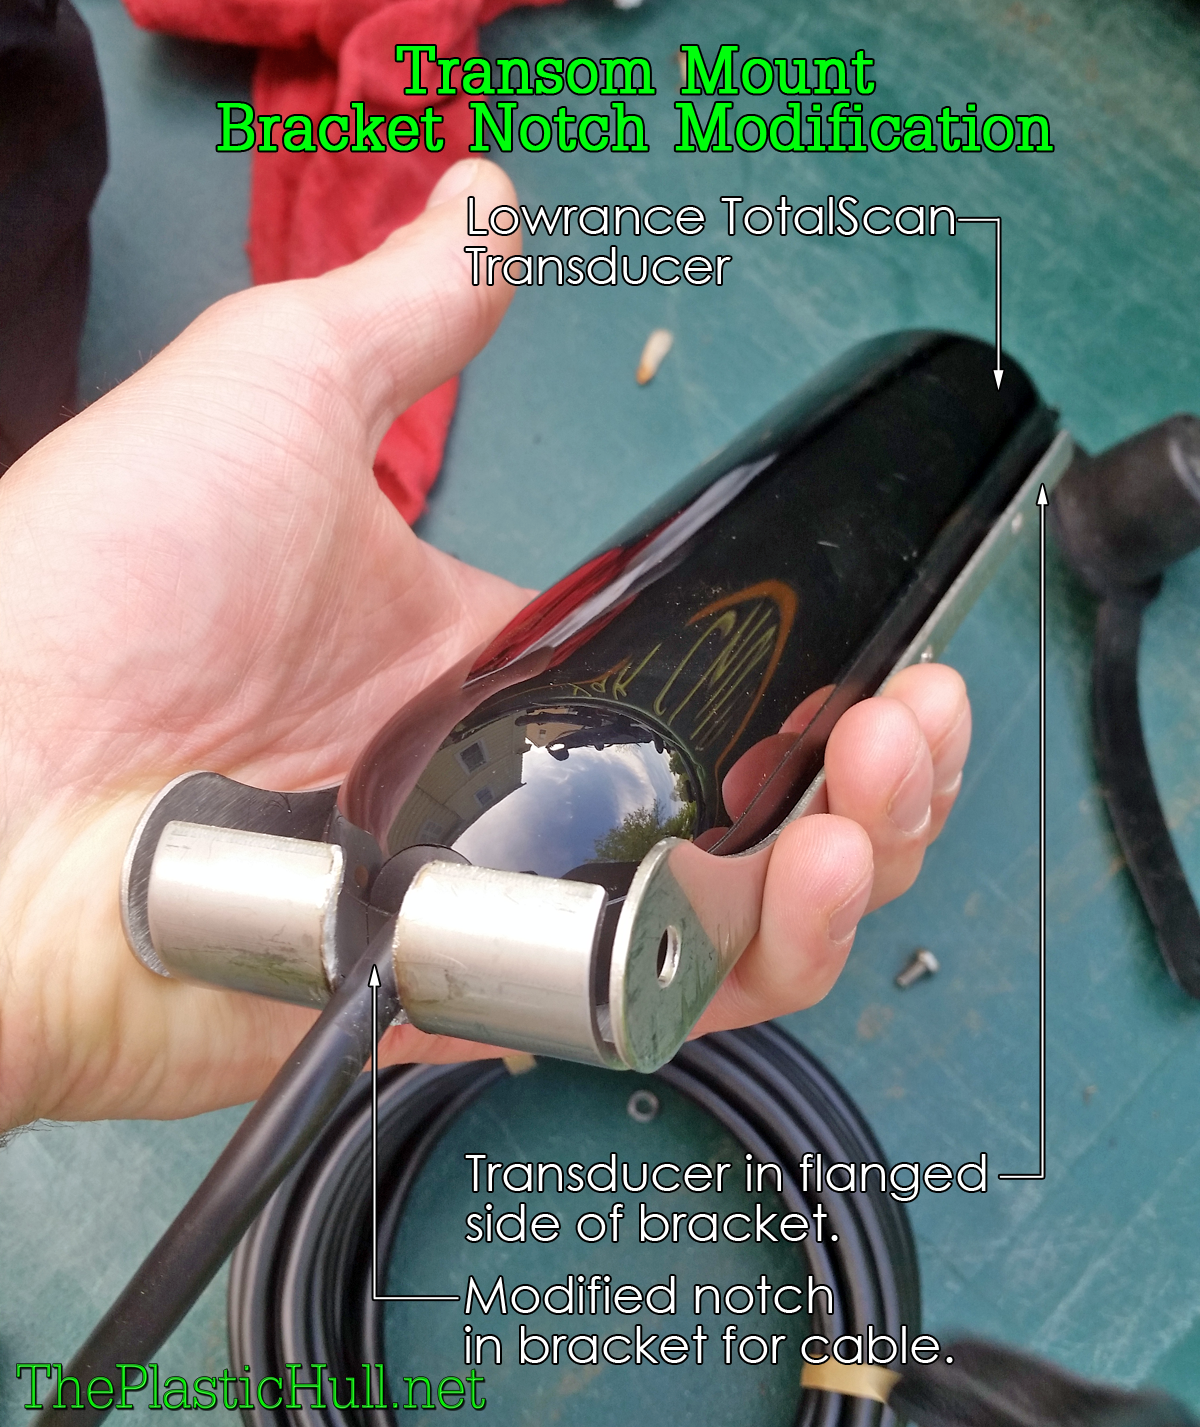 I opted to notch out the mounting bracket to receive the transducer cable flush. Doing this allowed me to install the transducer with the wire forward. I figured the less exposed cable the more protected it would be to objects in the water damaging it. Simply I marked with a sharpie marker the center and width of the cable. Using a vise and an angle grinder to notch in a space for the cable to pass through.